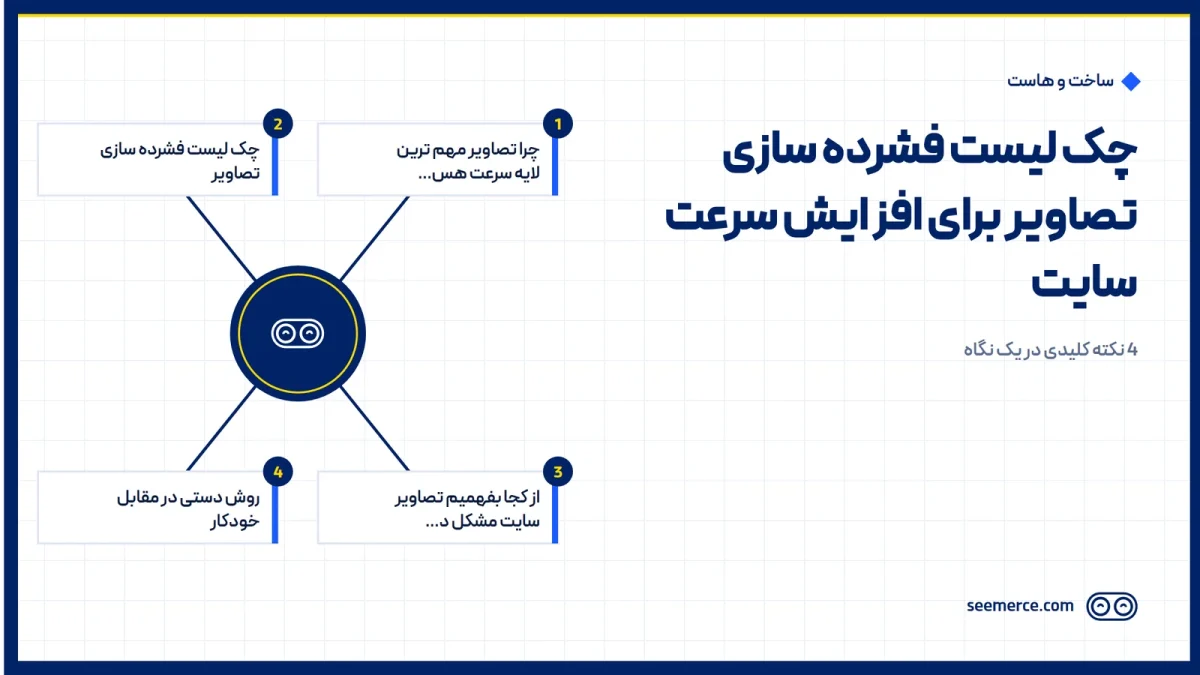
Most slow websites are slow for one reason: heavy images. Before touching caching, the server, or code, fix this one layer first — it usually delivers the single biggest speed gain. This guide is a practical checklist for compressing and optimizing website images, no theory attached.
Why images are the biggest speed layer
On most web pages, images make up a large share of total page weight, sometimes more than half of everything the browser has to download. Bring that weight down and both load time and Google's Core Web Vitals improve. Two of those metrics are tied directly to images:
LCP (Largest Contentful Paint) targets under 2.5 seconds, and the main cause of failure is usually heavy images, especially when the main above-the-fold image loads slowly. CLS (Cumulative Layout Shift) targets under 0.1, and it breaks when images don't have fixed dimensions in the HTML, causing the page to jump around while images load.
In short, get images right and you've improved two of the three core Google speed metrics at once. To see this alongside the other speed layers (server, code, database), see the speed up website page.
The image compression checklist
Run through these items in order on your site's images:
- Convert to WebP or AVIF: these two formats bring file size down noticeably compared to old JPG and PNG, at nearly the same visual quality. On WordPress, automatic conversion plugins do this without touching your original files.
- Compress without visible quality loss: lossless compression cuts size with zero loss, and reasonable lossy compression (not aggressive) has no noticeable visual loss either, while still cutting size further. Be more careful with this balance for product photos and banners where quality matters.
- Set exact width and height in the HTML: when the browser already knows an image's dimensions, it reserves the space up front, so the rest of the content doesn't shift once the image loads. This is one of the simplest fixes for CLS, and it's often forgotten.
- Upload the real size for where it's displayed: if an image is shown at 400px wide, uploading a 4000px file and shrinking it with CSS only adds download weight with no visible quality benefit. Prepare the image at the size it's actually shown.
- Responsive images with srcset: mobile and desktop don't need the same image size. With srcset, the browser picks a smaller or larger version depending on screen width, so mobile users aren't forced to download the desktop version.
- Lazy load below-the-fold images: images the user won't see without scrolling shouldn't download with the initial page load. This shortens the time until the page becomes interactive.
- Load the hero/above-the-fold image immediately: the opposite of the previous point — the image visible the instant the page loads (usually the one that determines LCP) should never be lazy-loaded; it should load immediately and with high priority, or lazy loading itself ends up slowing down LCP.
- Strip unnecessary file metadata: many images, especially ones straight from a camera or phone, carry extra data like GPS coordinates and camera settings embedded in the file that serves no purpose on a website and just adds a few extra kilobytes.
How to tell if your images are a problem
The simplest way is a PageSpeed Insights test or a similar tool; if the opportunities section shows things like "Serve images in next-gen formats," "Properly size images," or "Efficiently encode images," that's exactly where this checklist applies. If page LCP is above 2.5 seconds and the main image is flagged as the cause, that's the same signal.
An easier, faster check also works: open your browser's developer tools Network panel and reload the page. If you see one or more images weighing several megabytes in the request list, that's your main culprit, even before running any dedicated speed tool. Often this one simple look reveals the real cause of a slow page.
One practical note: optimizing images isn't a one-time job. Every time new content or a new image gets added to the site, the same rules (correct format, correct dimensions, compression) need to be followed, or the site gets heavy again after a few months. Ideally this checklist becomes part of your publishing workflow rather than a one-off project that gets forgotten — every image that's about to be uploaded should pass through a compression and format-conversion step first.
Manual vs. automated
There are two general paths for running this checklist. The first is online tools or desktop software for image compression, where you manually process each file before upload. This works for small sites with a limited number of images, but it isn't practical for a site with hundreds or thousands of images, and it has to be repeated every time new content is added.
The second path is site-level automation: a plugin or service that automatically compresses and converts every newly uploaded image to the right format, without repeated manual work. This setup usually also handles responsive sizing and lazy loading in the same layer, so the checklist above gets configured once and then runs automatically for every new image. For sites that publish content regularly, this path is more practical.
What this doesn't fix
Let's be honest about what image compression doesn't solve. If the server is slow or running an old PHP version, lighter images won't help much. If the database is bloated and queries are slow, that's a separate problem. If the site's CSS and JavaScript are heavy and uncompressed, rendering stays slow regardless. Images are one layer among several speed layers — the biggest one on most sites, but not the only one. If the site is still slow after running this checklist, the problem is likely elsewhere, and the whole stack needs a look, not just images.
This work also has a direct effect on SEO, since Core Web Vitals are part of Google's ranking algorithm; if the end goal is better Google rankings, look at image optimization alongside website SEO, not separately from it.
Frequently asked questions
Does compressing images reduce their quality?
With lossless compression, no, there's no loss at all. With reasonable lossy compression, the quality loss usually isn't noticeable to the human eye, while file size drops significantly. Problems only show up when compression is applied aggressively and carelessly.
Is WebP or AVIF better?
Both cut file size compared to old JPG and PNG. AVIF usually compresses even smaller than WebP, but WebP has wider and older browser support. The safe approach is preparing both formats and letting the browser pick the best one it supports.
Does every image need lazy loading?
No. The image visible the instant the page loads, especially if it's the one determining LCP, should not be lazy-loaded, since that itself introduces delay. Lazy loading only makes sense for images the user has to scroll to see.
What if I don't have time to run this checklist myself?
You can have this handled as part of a full website speed project, so images and every other speed layer of the site get reviewed and fixed together.



Comments and questions
No comments yet. If you have a question, we'd be glad to hear it.
Write a comment